Service Areas
Service Areas helps your office define the ZIP-code territories you serve, set travel charges or travel-time expectations per area, and quickly check whether a customer's ZIP is covered.
When to use this
Use Service Areas when dispatchers, estimators, or office staff need one clear place to manage where your team works. It is useful for contractors who price travel by zone, limit booking to covered ZIP codes, or want a fast eligibility check before creating a quote or job.
Before you start
- Confirm the plugin is included in your plan.
- Open Settings → Features and make sure Service Areas is enabled.
- Decide how your company names territories, such as neighborhoods, office regions, or “inside the loop” / “outside the loop” zones.
- Gather the ZIP codes, default travel charge, and expected travel time for the first area you want to add.
How to use Service Areas
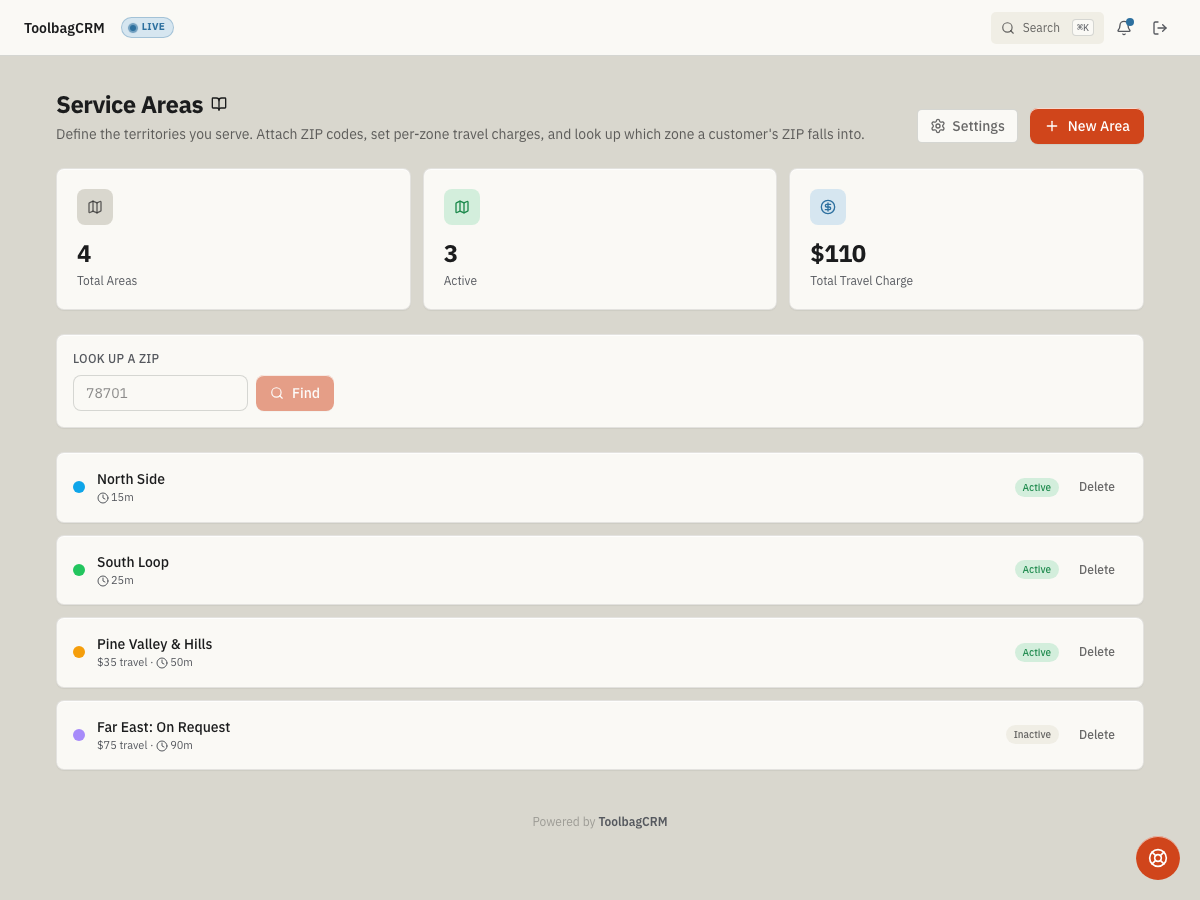
Open Service Areas from the ToolbagCRM navigation. The page shows your area totals, active-area count, total travel charge, and a ZIP lookup box. When there are no areas yet, use New Area to create the first territory.
- Select New Area.
- Enter a clear Name, such as “North Side” or “Inside the Loop.”
- Add an optional description so teammates know what the area covers.
- Choose a color to make the area easy to scan in lists.
- Enter any default travel charge and travel-time estimate for jobs in that area.
- Select Create Area. After the area exists, expand it to attach ZIP codes.
Check ZIP coverage
Use the ZIP lookup box before promising an appointment or quote outside your normal service radius. Enter the customer's ZIP code and ToolbagCRM shows whether it belongs to one of your active territories. When Service Areas is enabled, the New Quote form also checks the selected customer's ZIP and can show a warning when the address is outside your covered areas.
Keep ZIP coverage current whenever you add a new neighborhood, pause a territory, or change your travel pricing. If a customer should be covered but the lookup misses, open the matching service area and confirm the ZIP code has been attached to that area.
Settings
Use the Settings link on the Service Areas page to open Service Areas setup. Administrators with write access can set the defaults that apply to newly created service areas:
- Default travel charge — the dollar amount pre-filled when a new area is created.
- Default travel time — the expected drive time in minutes for new areas.
- Default zone color — the color used to make new territories easy to scan.
- When a ZIP is out of area — choose Warn to show the quote warning, Allow to skip the coverage check, or Block to record a stricter policy preference for accounts that want to refuse out-of-area bookings as enforcement expands.
These defaults help new territories start consistently, but you can still override travel charge, travel time, color, and ZIP assignments on each service area.
Tips
- Start with one real territory before rolling out every ZIP your company serves.
- Keep territory names simple enough for dispatchers and estimators to recognize quickly.
- Use travel charge and travel-time defaults to help your team quote out-of-area work consistently.
- If a ZIP lookup misses, confirm the relevant area exists and that the ZIP has been assigned to it.
Troubleshooting
A ZIP code lookup returns no match
Confirm the relevant service area exists and that the ZIP has been assigned to it. ZIP lookups only match against assigned territories.
I do not have access to Service Areas setup
Service Areas setup requires write access to the plugin. Ask an administrator to update your role if you need to change default travel charges, default travel time, zone colors, or out-of-area behavior.
A ZIP cannot be added to this area
A ZIP code can only belong to one service area at a time. If ToolbagCRM says the ZIP is already assigned, remove it from the old territory first or update the existing area instead of creating a duplicate.