Photo Reports
Photo Reports turns job photos into customer-friendly before/after galleries with captions, field notes, and a shareable public gallery link after the report is published.
When to use this
Use Photo Reports when the finished work is visual and customers need more than a flat attachment list. It is useful for remodels, restoration, landscaping, cleaning, inspections, and any job where before/after proof helps explain the result.
Photo Reports are separate from the Documents plugin: Documents stores files, while Photo Reports organize photos into a guided gallery customers can review.
Before you start
- Confirm Photo Reports is included in your plan and enabled under Settings → Features.
- Gather public-safe image URLs for the photos you want to include.
- Decide whether the report should be linked to a customer, a job, or both.
- Prepare short captions and notes for any important conditions, repairs, or customer-facing observations.
Create a report
- Open Photo Reports from the ToolbagCRM navigation.
- Select New report.
- Enter a title, such as
Master bath remodel, before/after. - Add an optional summary. The summary appears on the report card and helps explain the scope.
- Choose a customer and job if the report belongs to a specific record.
- Select Create report.
New reports start as Draft so your team can add and review photos before sharing anything with the customer.
Review report status
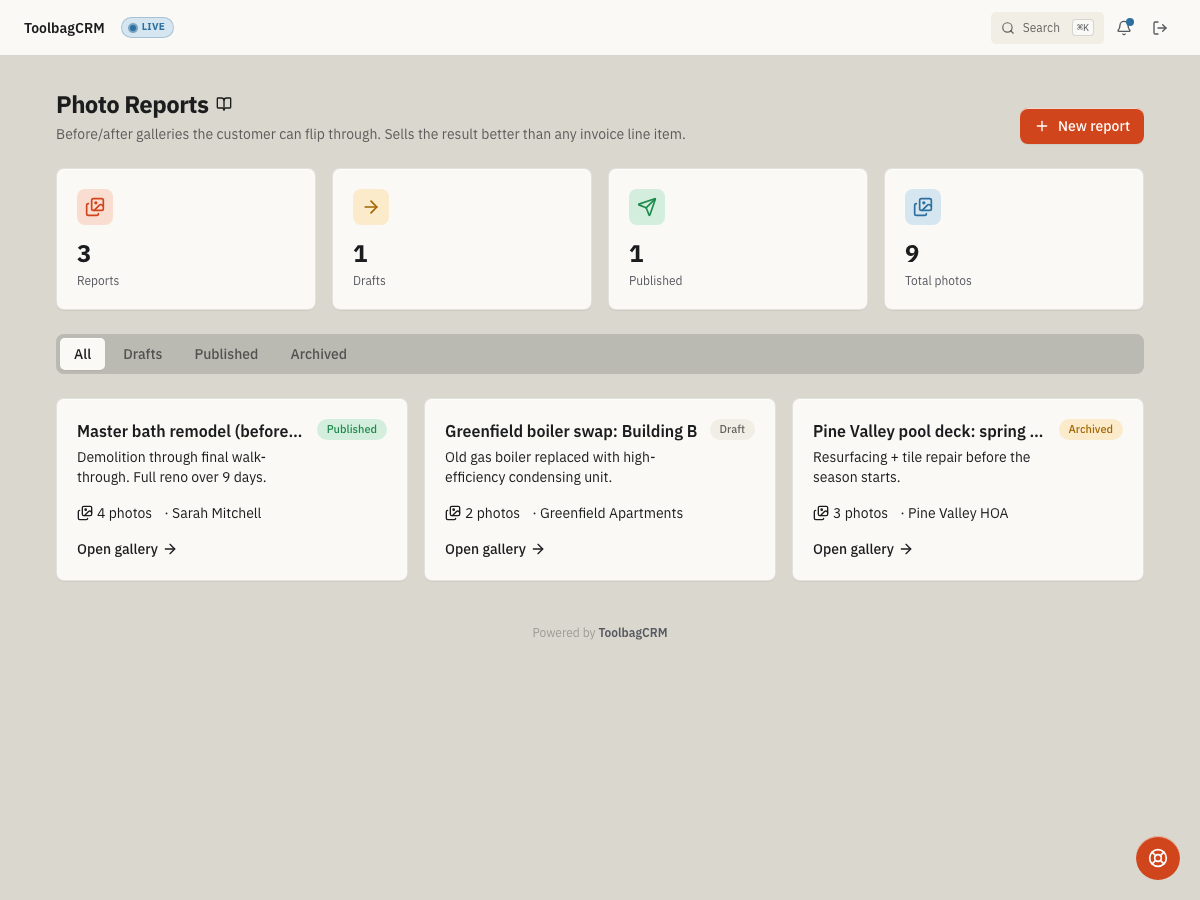
The Photo Reports page gives administrators four quick cards: Reports, Drafts, Published, and Total photos. Use them to see whether the team is building galleries without publishing them, or publishing galleries without adding enough visual proof.
Use the status tabs to focus the list:
- All — every report in the workspace.
- Drafts — reports still being built or reviewed internally.
- Published — reports with a customer-facing gallery link.
- Archived — older reports that already carry Archived status and should stay out of active review.
Add photos and notes
Inside a draft report, add each image with:
- Image URL — the photo to show in the gallery.
- Position — Before, After, or Other.
- Caption — a short label such as
South-facing wall, pre-demo. - Annotation — extra context, callouts, or observations.
Before and After photos appear in separate columns. Photos marked Other are shown in their own section when present. Use captions for what the customer can see, and annotations for why it matters.
Publish and share
A report cannot be published until it has at least one photo. After publishing, ToolbagCRM creates a customer-facing gallery link that can be copied from the report detail view.
Use the share link when you want customers to review the finished gallery without giving them access to the internal workspace. The public gallery shows the report title, summary, publish date, and photo items with their position labels, captions, and annotations.
Tips
- Keep each report focused on one job, visit, or project phase.
- Put safety-sensitive or internal-only notes somewhere else; Photo Reports are designed for customer-friendly sharing.
- Use the Before, After, and Other positions consistently so customers can compare the work quickly.
Troubleshooting
Publish is unavailable
The Publish button is disabled until the draft has at least one photo. Add a photo first, then publish the report.
A new report will not create
The Create report button stays disabled until the report has a title. Add a short customer-friendly title, then save the draft.
A photo will not add
The Add photo button requires an Image URL. Paste a public-safe image URL before selecting Add photo; captions, annotations, and the Before/After/Other position are optional but recommended.
The share link is missing
The copy-share-link action appears only after the report is Published and ToolbagCRM has generated a signed gallery token. Keep the report in Draft while the photos are still being reviewed internally.