Pricing Catalog
Pricing Catalog gives your team one reusable list of parts, labor rates, service fees, equipment charges, and other priced line items. Use it to keep quote, invoice, and contract pricing consistent instead of retyping the same line items every time.
When to use this
Use Pricing Catalog when your team wants standard pricing for repeat work such as service call fees, maintenance tasks, filters, trip charges, diagnostic labor, or commonly sold materials. It is especially helpful when managers want to control margin and technicians need a faster way to add approved items to quotes or invoices.
Before you start
- Confirm the plugin is included in your plan.
- Open Settings → Features and make sure Pricing Catalog is enabled.
- Decide who can create or edit catalog items. Most teams limit this to owners, office managers, or price-book administrators.
- Gather the SKUs, names, costs, sale prices, categories, and taxable status for the first group of items you want to standardize.
How to use Pricing Catalog
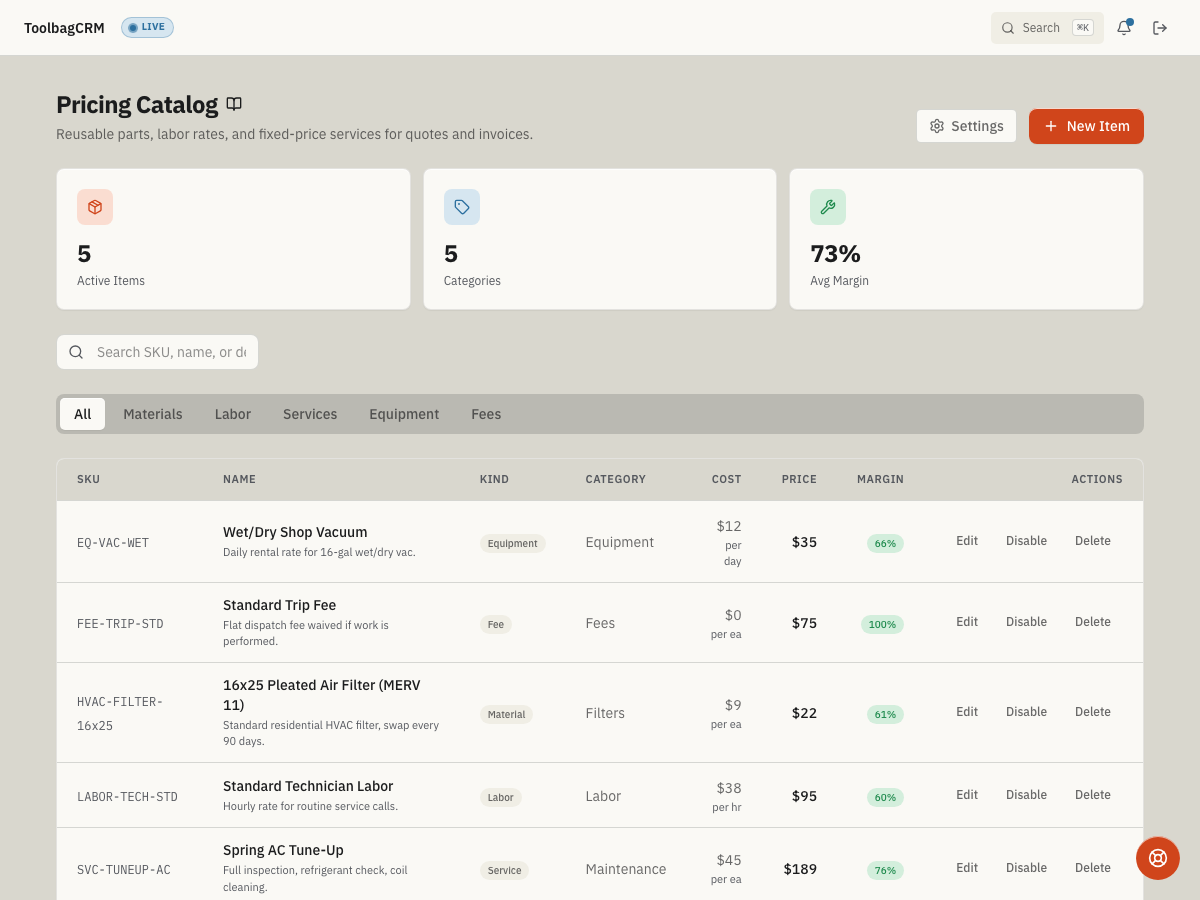
Open Pricing Catalog from the main navigation. The page shows summary cards, search, kind filters, and the catalog table. Use the tabs to focus on materials, labor, services, equipment, or fees.
- Click New Item.
- Enter the item SKU and customer-facing Name.
- Choose the item Kind: Material, Labor, Service, Equipment, or Fee.
- Add an optional description that explains what the line item includes.
- Enter Unit Cost, Unit Price, and Unit. ToolbagCRM shows the margin before you save.
- Add a Category or Trade Tag if your team filters by department, trade, or material group.
- Confirm whether the item is Taxable and Active, then click Create Item.
After items exist, use Edit to update a price or description, Disable to hide an item from future use without deleting it, and Delete only for items that should be removed entirely.
Settings
Open Pricing Catalog → Settings from the page header. The setup page controls the defaults ToolbagCRM applies when someone creates a new catalog item.
Recommended setup flow:
- Set Default markup (%) if you want ToolbagCRM to calculate a sale price when a cost is entered and the price is left blank.
- Set the Default unit your team uses most often, such as
ea,hr, orft. - Choose the Default item kind for the items your team adds most often.
- Turn Taxable by default on or off based on your local sales-tax rules.
- Click Save changes.
What to keep current
Review catalog items whenever supplier costs, labor rates, tax rules, or standard service packages change. Keep these fields especially clean:
- SKU and name so office staff and technicians can find the right line item quickly.
- Unit cost, unit price, and markup so quote and invoice margins stay accurate.
- Unit, category, and trade tag so filtering remains useful as the catalog grows.
- Taxable status so taxable materials, fees, and services follow your local rules.
- Active status so outdated items stop appearing in new work while historical records remain understandable.
Tips
- Start with a small group of high-volume items before importing an entire price book.
- Review margins before publishing items to the field team.
- Use categories and trade tags consistently so catalog searches stay useful.
- Disable outdated items instead of deleting them if your team may need historical context later.
Troubleshooting
The Create Item button stays disabled
The new item dialog requires both SKU and Name before it can save. Add a short SKU your team can recognize and a customer-facing name, then choose the item kind and pricing details.
ToolbagCRM says the SKU already exists
Each catalog item needs a unique SKU. Search the catalog for the SKU first, then edit the existing item, disable the old item, or create a new SKU for the replacement.
A catalog item does not appear in quotes or invoices
Check that the item is marked as Active. Inactive items are hidden from new line-item searches but remain on historical records.
A long catalog field will not save
Keep SKUs, names, units, categories, trade tags, and descriptions concise. If a save fails after pasting supplier text, shorten the field that the error message names, then try again.