Route Planner
Route Planner helps your office turn a day of scheduled work into an ordered route for a crew. Use it when a technician or crew lead needs one list of stops for the day instead of jumping between separate appointments.
Open Route Planner from the main navigation after the plugin is enabled in Settings → Features.
When to use Route Planner
Route Planner is useful for teams that run multiple stops in a day, such as HVAC service calls, plumbing visits, maintenance routes, lawn care, pool service, pest control, or handyman work.
Use it to:
- group a crew's work for one date,
- create an ordered stop list,
- build a route from already scheduled visits,
- add ad-hoc stops such as supply pickups,
- move stops up or down as plans change,
- mark stops done as the crew works through the list, and
- track whether the route is still a draft, dispatched, in progress, or completed.
Route Planner organizes the work list. It does not currently promise map optimization, turn-by-turn directions, live GPS tracking, or automatic drive-time calculations.
Build a route from scheduled visits
The fastest way to start is Build from Visits.
- Open Route Planner.
- Choose the date you want to plan.
- Select Build from Visits.
- Confirm the date.
- Optionally enter a route name and starting address.
- Select Build Route.
ToolbagCRM creates a new route for that day and adds the scheduled visits as stops in start-time order. Each stop uses the visit's customer and service-location information when it is available.
This is best after your schedule is mostly set for the day. If the schedule changes afterward, review the route and add, remove, or reorder stops as needed.
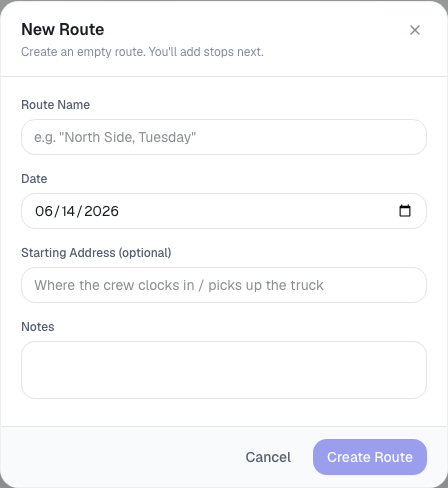
Create a route from scratch
Use New Route when you want to build a route manually.
- Open Route Planner.
- Select the date you want to plan.
- Select New Route.
- Enter a route name, such as
North Side TuesdayorMaintenance Route A. - Optionally enter the starting address where the crew begins.
- Add any notes the dispatcher or crew should see.
- Save the route.
After the route is created, open the route card and add stops.
Add stops
Open a route card and select Add Stop. A stop can be tied to an existing customer, or it can be an ad-hoc stop.
For each stop, you can enter:
- Customer — optional; choosing a customer can fill the stop label.
- Label — required; the name the crew sees in the route list.
- Address — optional stop address.
- ETA — optional planned arrival time.
- Notes — optional instructions for the stop.
New stops are appended to the end of the route. Use the move controls to place them where they belong.
Reorder and complete stops
Each route card shows the stops in numbered order.
Use the up and down controls to move a stop earlier or later in the list. Use Done when a stop is complete. Completed stops stay in the route history and appear crossed off instead of disappearing.
You can also remove a stop if it no longer belongs on that route.
Move a route through the day
Routes have a simple status flow:
- Draft — the route is still being planned.
- Dispatched — the route has been sent to the crew.
- In Progress — the crew has started working the route.
- Completed — the route is finished.
The route card shows the current status and the next available action:
- Dispatch moves a draft route to dispatched.
- Start moves a dispatched route to in progress.
- Mark Done completes an in-progress route.
If a route was created by mistake, use Delete. Deleting a route also removes its stops.
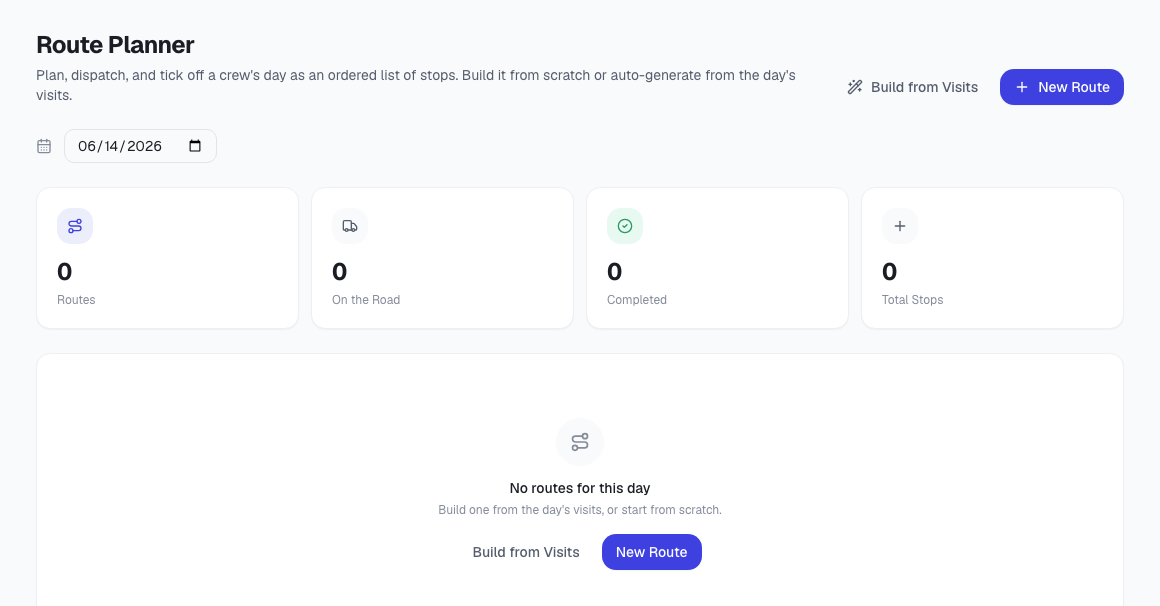
Read the Route Planner dashboard
The top of Route Planner includes a date picker and summary cards for the selected day:
- Routes — how many routes exist for the selected date.
- On the Road — routes that are dispatched or in progress.
- Completed — routes marked completed.
- Total Stops — all stops across the day's routes.
Use these cards during morning dispatch or end-of-day review to see whether the day has been built out and finished.
Tips for contractors
- Build from visits after the dispatcher has entered the day's scheduled work.
- Name routes in a way your team already talks: territory, crew, service line, or truck number.
- Add supply houses, dump runs, or lunch handoffs as ad-hoc stops when they affect the day's sequence.
- Use the starting address when crews begin from a shop, yard, or rotating staging point.
- Mark each stop done during the day so the office can see progress without calling the crew.
- Review completed routes at the end of the day to spot missed or removed stops.
How to configure Route Planner
- Open Settings → Features.
- Find Route Planner in the Optional features list.
- Enable the plugin if it is available on your plan.
- Return to Route Planner from the main navigation.

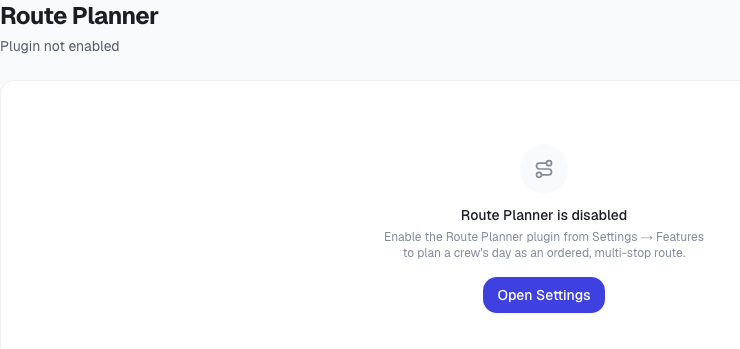
If the page says the plugin is disabled
Open Settings → Features and enable Route Planner. Once enabled, Route Planner appears in the main navigation. If the feature card does not show an enable control, it may not be available on the current plan or demo workspace.