Job Checklists & Inspections
Job Checklists & Inspections lets your team build reusable inspection templates, start them for specific jobs, and track whether field work is pending, in progress, complete, or voided.
When to use this
Use Job Checklists & Inspections when your business needs repeatable field procedures: safety walk-throughs, tune-up steps, install quality checks, post-job cleanup lists, or any inspection that should be completed the same way every time.
Before you start
- Confirm the plugin is included in your plan.
- Open Settings → Features and make sure Job Checklists & Inspections is enabled.
- Decide who can create templates and who can start or complete checklists on jobs.
- List the first one or two field workflows you want to standardize before creating templates.
How to use Job Checklists & Inspections
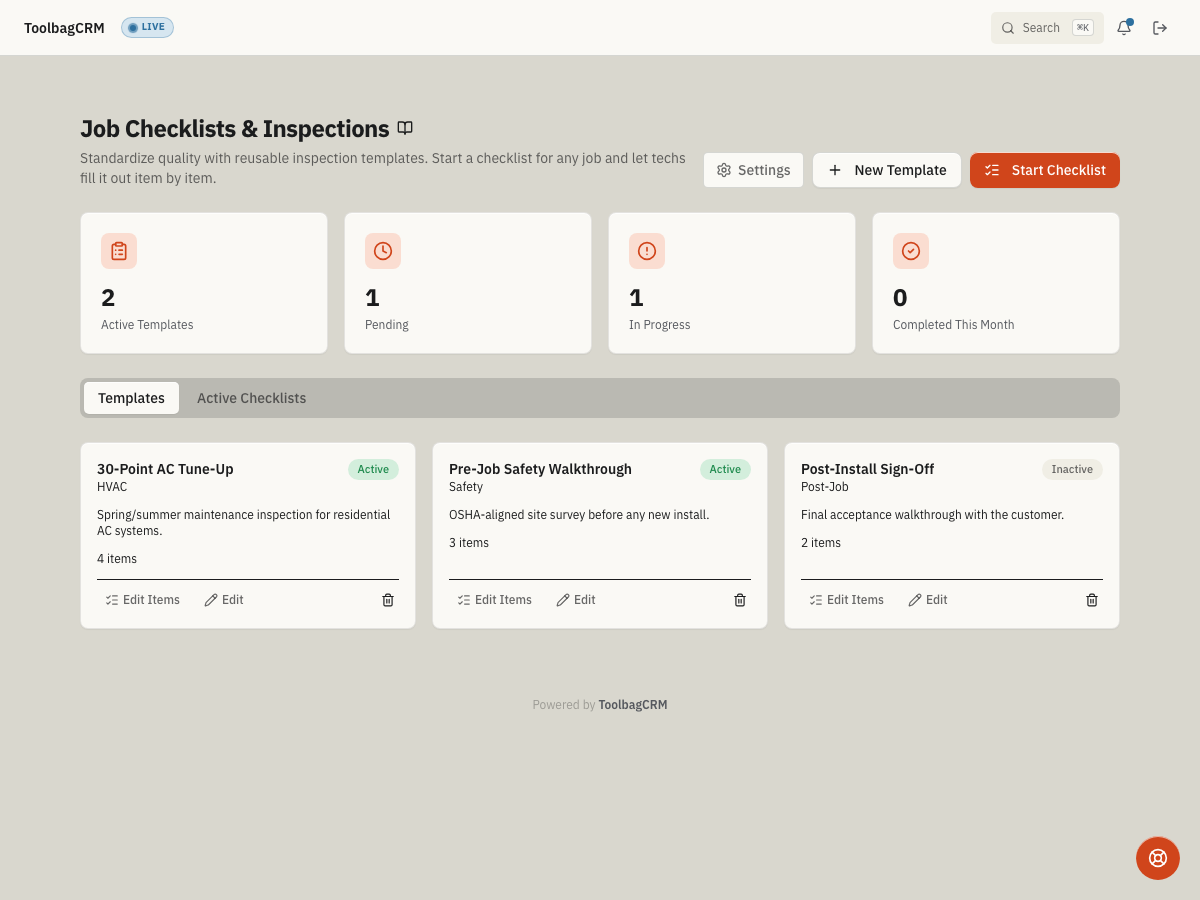
Open Job Checklists & Inspections from the main navigation. The page shows checklist health at a glance, then separates reusable Templates from Active Checklists that have been started for jobs.
Recommended workflow:
- Click New Template.
- Name the template for the job type or inspection, such as “Spring maintenance inspection.”
- Add a category like HVAC, Safety, Post-Job, or Install so the template is easy to find later.
- Add a short description that tells your team when to use it.
- Keep Active turned on if the template should be available for new jobs, then save it.
- Use Edit Items on the saved template to add each inspection step.
- Click Start Checklist when a job needs that template, assign it to the job or technician, and have the field team fill it out item by item.
Use the Active Checklists tab to review work that is pending, in progress, complete, or voided. If your team has no active checklists yet, start one from an active template after the template items are ready.
Settings
Open Job Checklists & Inspections → Settings from the page header. The setup page controls the defaults ToolbagCRM applies when someone starts a checklist or adds a new template item.
Recommended setup flow:
- Choose a Default template if most jobs should start with the same inspection list. Leave it as No default if dispatchers should choose each time.
- Choose the Default item type new template steps should use first. Steps can still be changed individually while editing the template.
- Turn Require completion before job close on if jobs should stay open until required checklists are finished.
- Click Save changes.
What to keep current
- Review active templates after each season or service-line change so field steps match the work your team actually performs.
- Keep item wording short and action-oriented; technicians should know exactly what to check, photograph, measure, or confirm.
- Retire outdated templates instead of deleting historical inspection context.
- Revisit the job-close policy before busy season so required checklists do not surprise dispatchers at closeout time.
Tips
- Start with one office-approved workflow before rolling checklists out to every technician.
- Keep template-editing permissions tight so field procedures stay consistent.
- Use short step names and clear pass/fail/photo requirements so technicians can complete checklists quickly in the field.
- Review incomplete checklists before closing jobs if your company depends on inspections for quality control.
Troubleshooting
The checklist form will not save
The Name field on the template and the Job title field on the instance are both required. Fill in both before saving.
A checklist item is missing from the form
Checklist items can be marked as Required or Optional in the template editor. If an item was recently added, make sure the template was saved after the change.